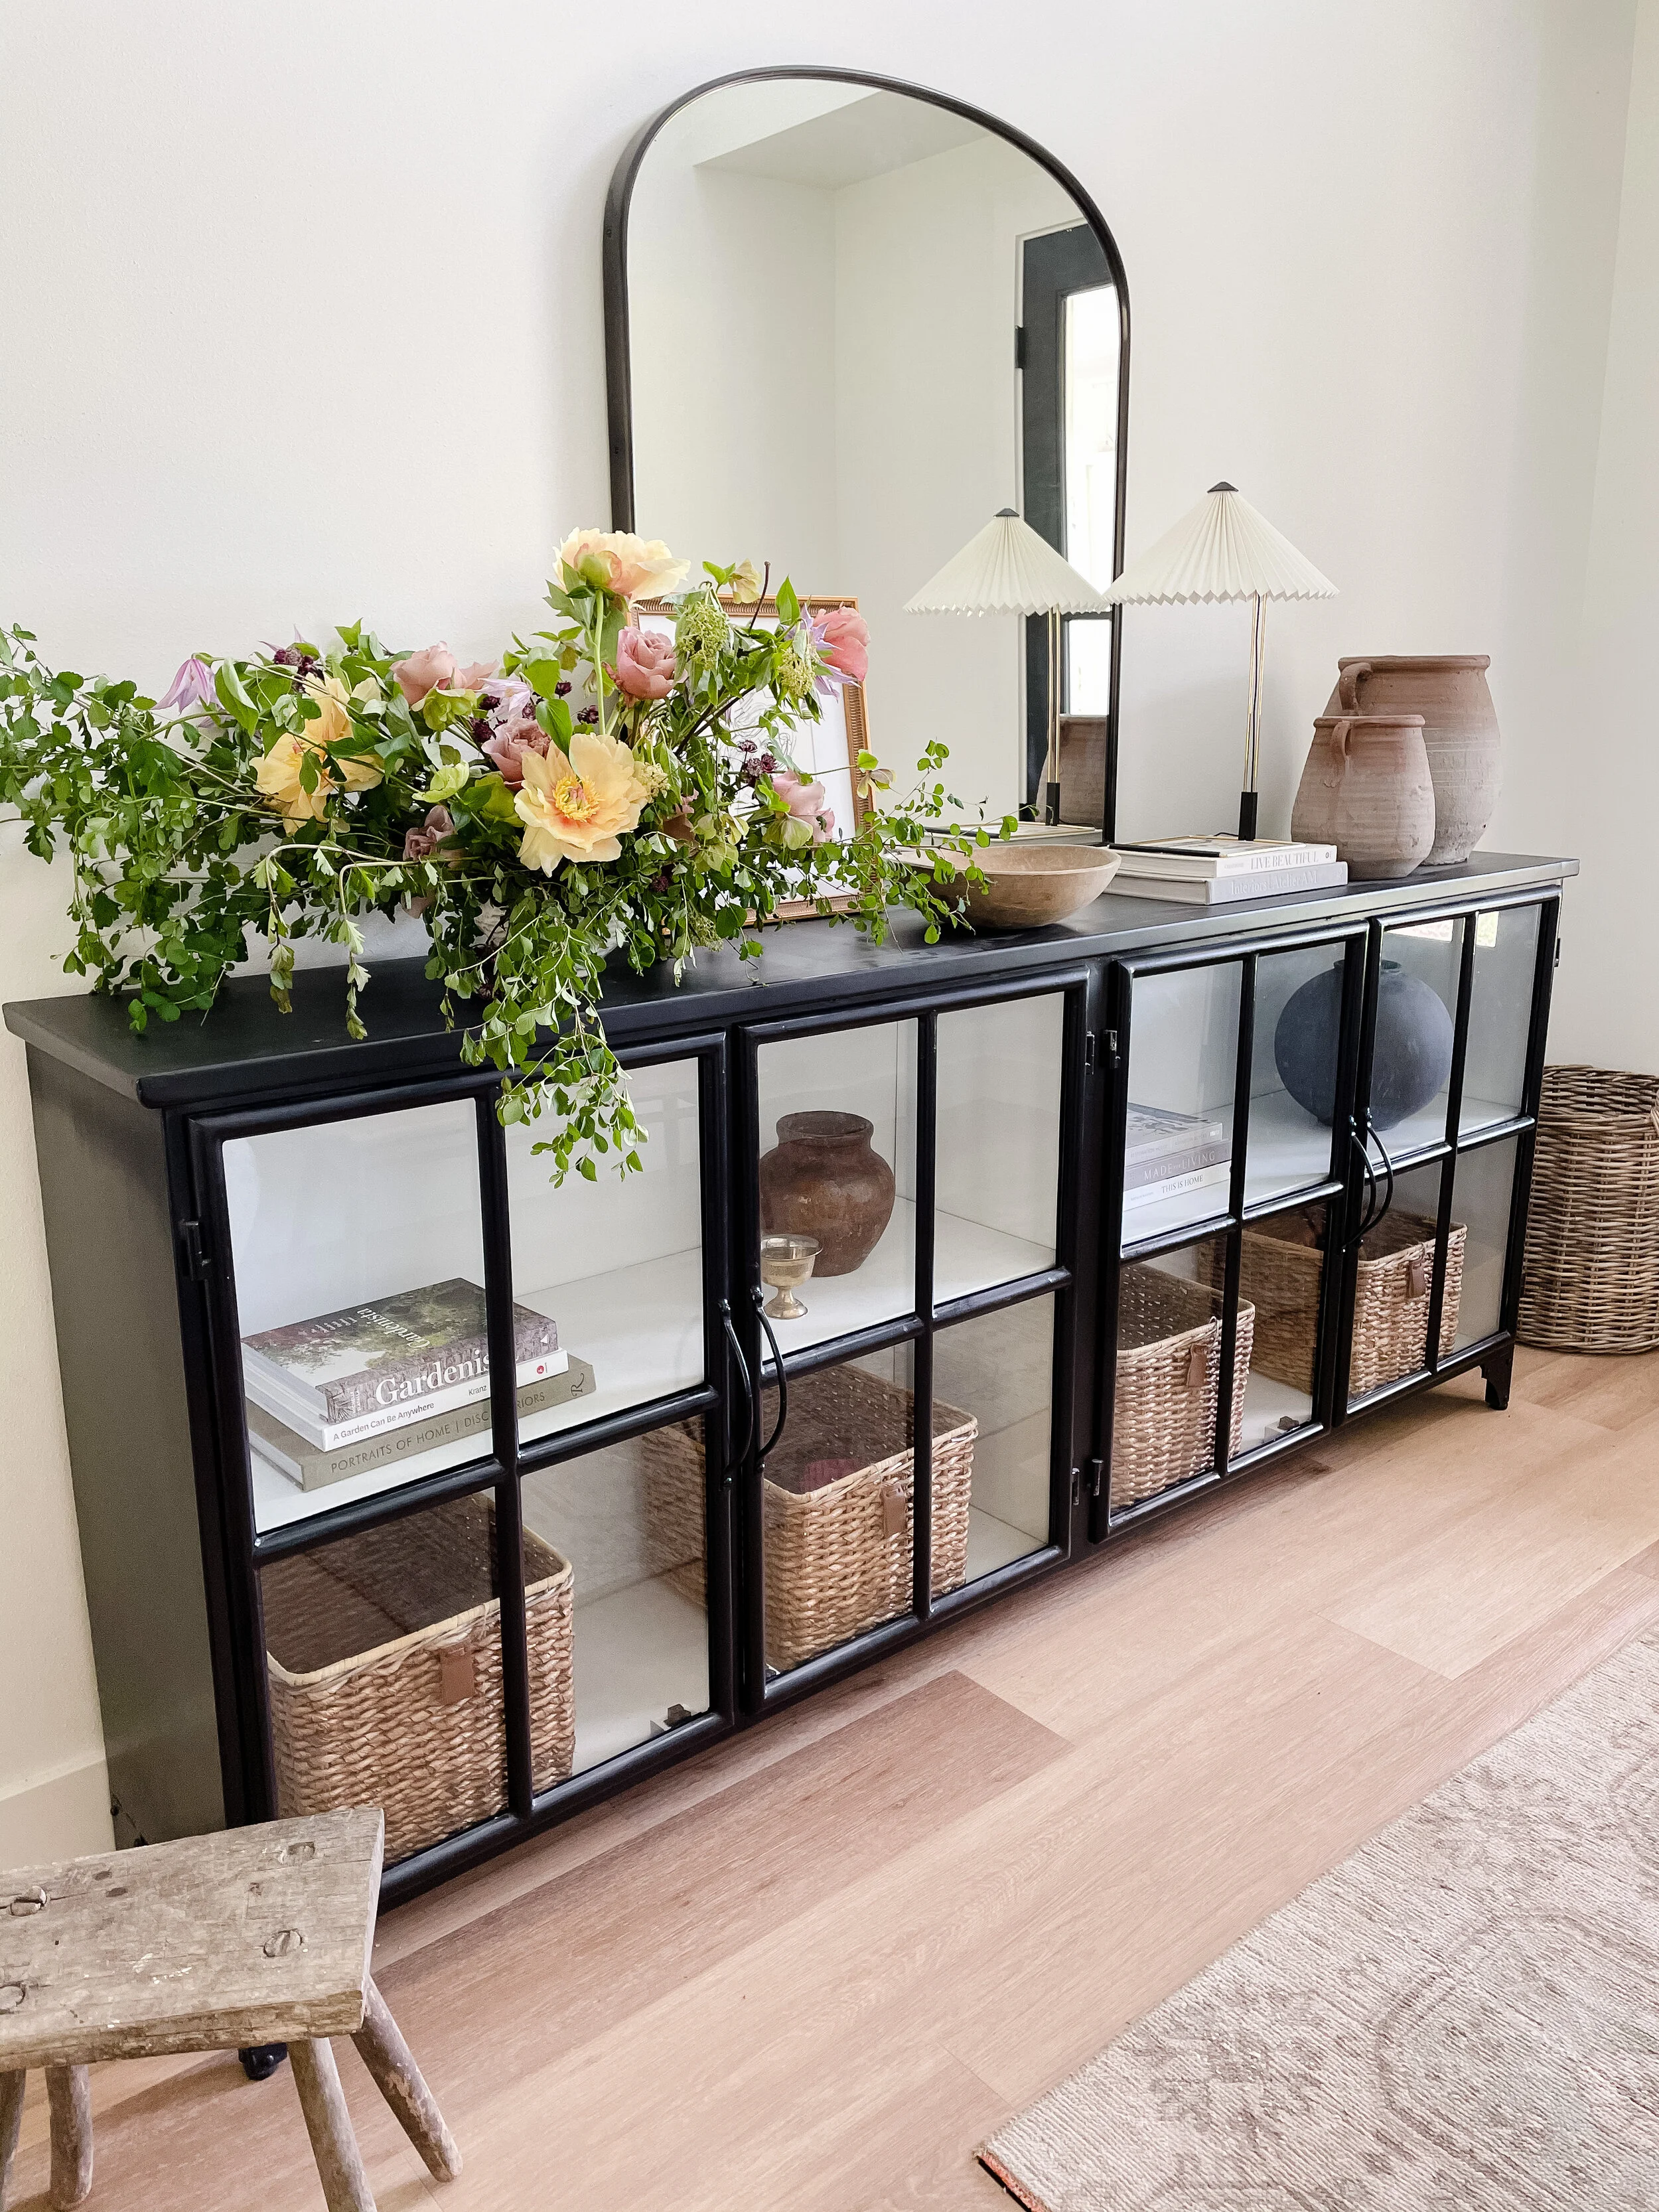
How To: Floral Centerpiece Guide
One of my favorite parts about spring/summer is fresh arrangements in my house all season long. It was one of the things I was most looking forward to while putting together our garden, the cut flower beds are a dream come true. I thought today I would share the basics behind putting together a simple centerpiece. I like my arrangements to feel very “wild” and don’t like to adhere to specific rules or processes but there are a few tips that are helpful to get started and make sure that your arrangement lasts!
Supplies
For this arrangement we are used the following supplies:
Medium Sized Vessel (About 6 inches wide)
6”x6” piece of craft chicken wire (Traditional chicken wire has a higher gauge and is not as flexible)
Floral Clippers (Sharper than your craft/kitchen shears, and creates a cleaner cut for flowers to thrive)
Floral Tape (Waterproof)
Floral Recipe
For this arrangement we used the following flower types:
Koko Loko Garden Rose
Tree Peony
Hellebore
Columbine
Foraged Greenery
Prep
For this arrangement, we used both chicken wire and tape grid for mechanics. This helps support the arrangements weight so that it doesn’t topple if it becomes too heavy. Start by creating a loose ball with your chicken wire and place a 2x2 grid of tape to hold in place. Add your water.
Designing
Now for the fun part, start designing! This is where I like to keep it simple and let the flowers guide you. Each arrangement is unique and I like to keep it that way. There are a few tricks to help you not get too lost in the weeds though -
Start with “greening” out your mechanics. Cover as much as you can of the tape and wire with greenery so you don’t have to fill that in at the end.
Create your desired shape with a few larger pieces or branches and let that be your guide when filling in with florals.
Keep with odd numbers for each color/flower. This will help make your arrangements feel more natural as perfect symmetry doesn’t typically exist in nature.


